
The whole process of taking family photos yourself is exhausting but so worth it! I thought it would be fun to tell you all about the process.
1. Picking the outfits. Now, this task is daunting in and of itself. This may sound selfish, but I always think about myself first when deciding what outfits our family will wear. You know the saying that goes something like, "If momma ain't happy, no one is." So I always make sure that I am wearing something that makes me feel fabulous. Then I look through our closets and use what we have and make it work. I looked for colors that coordinate with the outfit I wore.

2. Picking the location. I went into this photo shoot with the idea of having our annual family photo taken in a location surrounded by fall leaves. I wasn't set on an exact location but I knew we should be able to find a suitable place at one of our favorite nearby parks. We got there about 3:30pm. I scouted out the area… a really pretty place a river, a bridge, and a wooded area. I just loved the look of the bright yellow leaf covered ground in the wooded area. The lighting was perfect and started to set up.

3. Equipment. The equipment I used for this photo shoot: my Canon 7D DSLR camera, my 18-55mm lens, my tripod, a metal chair, and my wireless remote. I put a bright orange hair scrunchie around the lens so everyone would easily know where to look for the pictures. It had been awhile since I had used the wireless remote, so I had to look up the proper camera settings in my camera manual. (I let the boys just play and get their wiggles out while I got things set up. B almost fell down. So glad he didn't. T was a good sport and sat down for a few seconds while I locked the focus.)

This photo cracked me up and made me nervous. I loved T's face but K was super fussy and we hadn't even started yet.
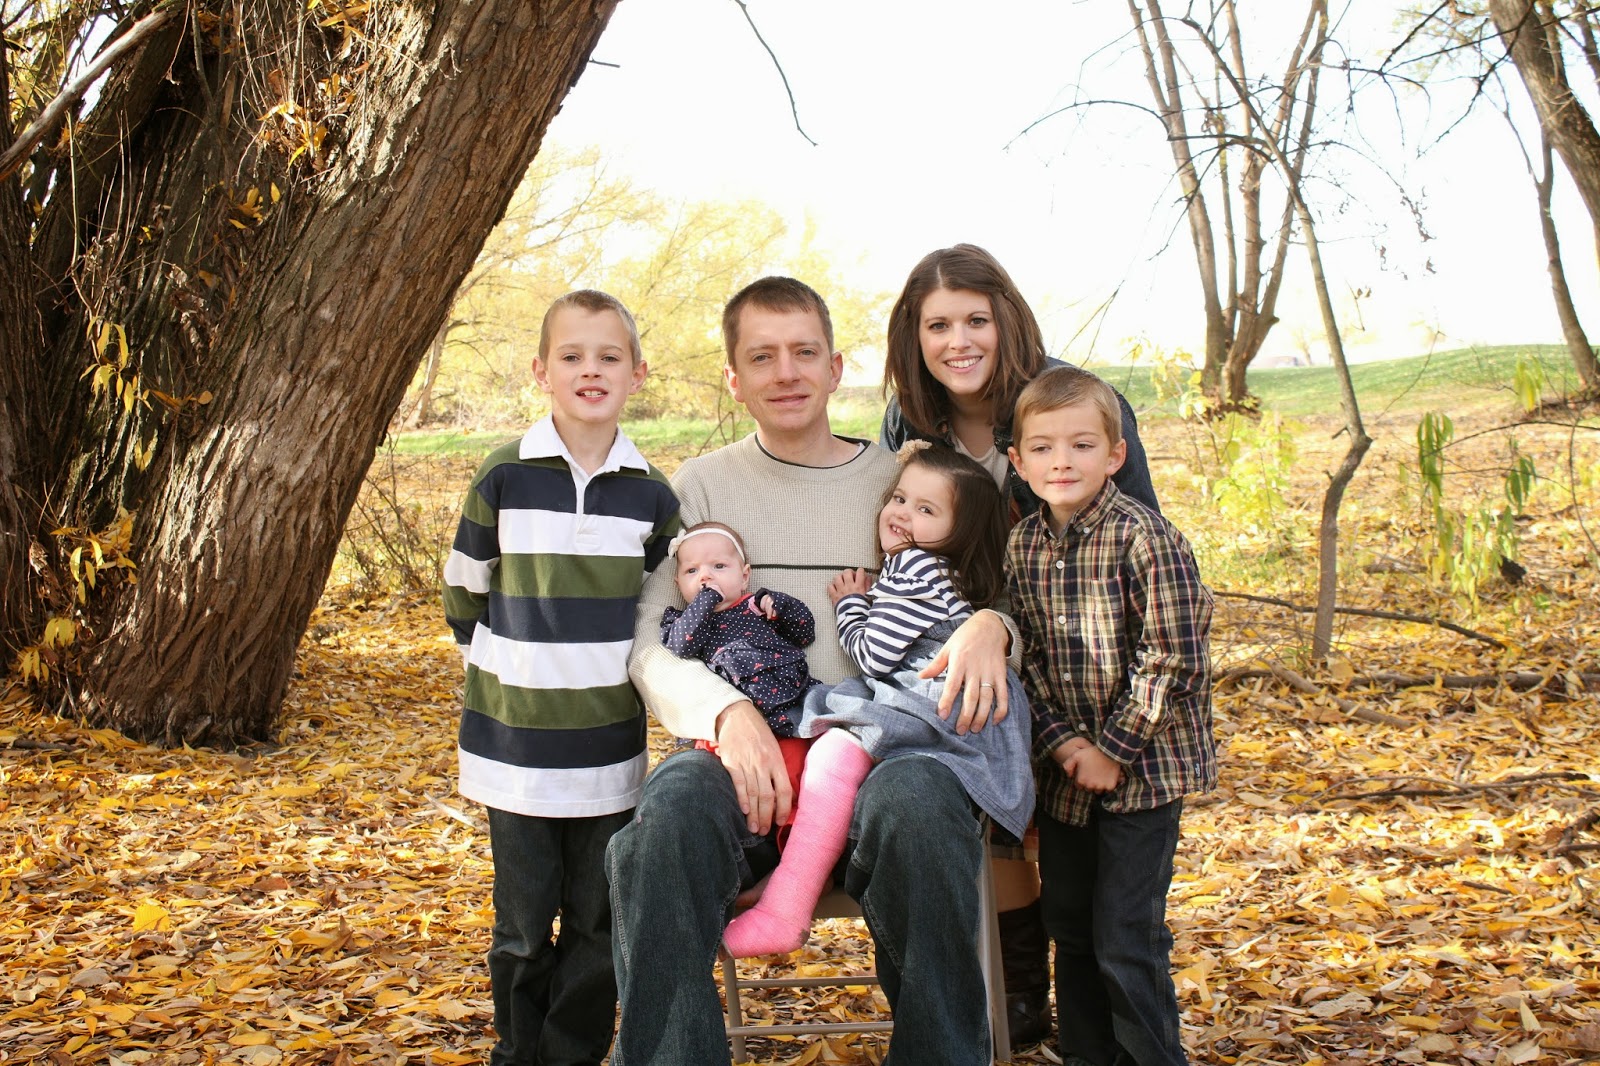
4. The progression of the family set up. My husband is really tall, so I had him sit in the metal chair. And since I was in charge of the remote, my husband ended up with both girls on his lap. T really wanted to stand by K, so I let him.


My second camera timer shot. I ran over really quick to jump in my spot and my smile and hair went all crazy.
Okay, so here is the best set up I came up with for our family. I started with my husband and had him sit in the metal chair. Then I put the girls on his lap. I let T stand where he wanted to so he wouldn't fuss. I convinced B that he would look best if he stood up on the other side of his dad. That left the perfect pocket of space for me to go right behind my middle kids. I wanted our faces to all be kind of close together. So even though I am short, but I still decided to not stand up completely. The heavy tree on one side and the smaller trees on the other framed our family just right. The photos look nice and balanced.
All that was left was to take a few shots and pick the best one for our Christmas card.

I exposed the photos for our skin, which resulted in blowing out the sky.
The overexposed sky doesn't distract from the overall look of the photos.


The winning photo! I just cropped this photo in a bit for our Christmas card.
Two bonus shots of the day:

J, S, K

B, Lisa, T
*All of these photos were taken in manual mode.
*All of these photos were taken in manual mode.
Just keeping it real. I could've let the craziness of the kids overwhelm me and not even attempt to do family photos. I like a challenge though and kept going. I challenge you to learn your camera and take your own family photos. Your family will thank you for it. Promise.
MVI 3272 from Lisa Ward on Vimeo.
A fun perk to my Canon 7D camera is that it has the HD video feature built in. All I had to do was flip a switch on my camera, and voila, instant home video. Love it!
No comments:
Post a Comment